Overview
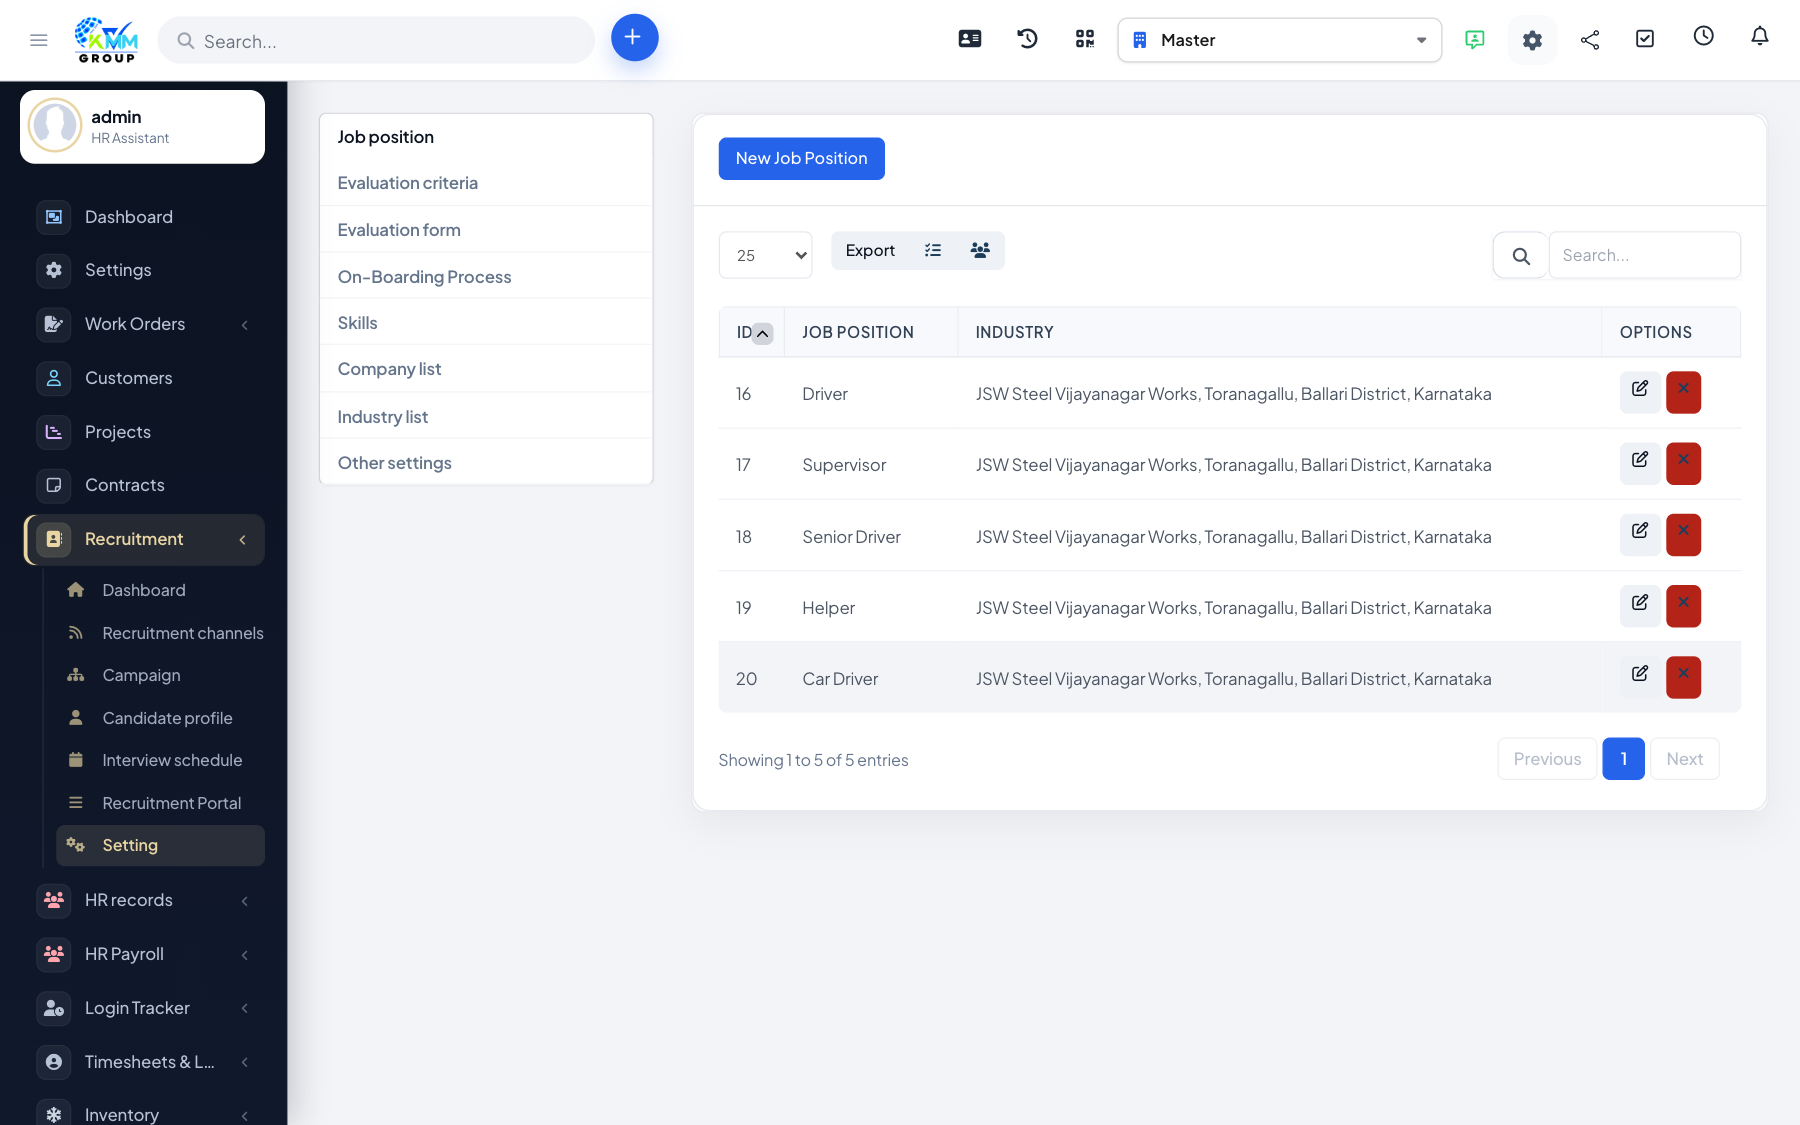
Settings hold the reusable lists that every campaign and candidate depends on. Filling them in first means the right options appear in dropdowns everywhere else, and your reports stay tidy and consistent.
Steps
- Go to Recruitment > Settings (
/admin/recruitment/setting). - Job Positions: add the roles you hire for (e.g. Accountant, Site Engineer). Campaigns and candidates are linked to a position, which drives filtering and reporting.
- Skills: maintain the skill list used to tag candidates and match them to jobs.
- Industry List: define industries used to classify companies and campaigns.
- Campaign Settings: set how campaigns behave by default (for example whether campaigns start from a plan).
- Prefix: set the automatic numbering format for campaigns and candidates.
- Save each tab — the lists immediately become available across the module.
Tips
- Set up positions and skills before adding candidates so you can tag them straight away.
- Keep the position list short and clear; you can always add more as you hire for new roles.