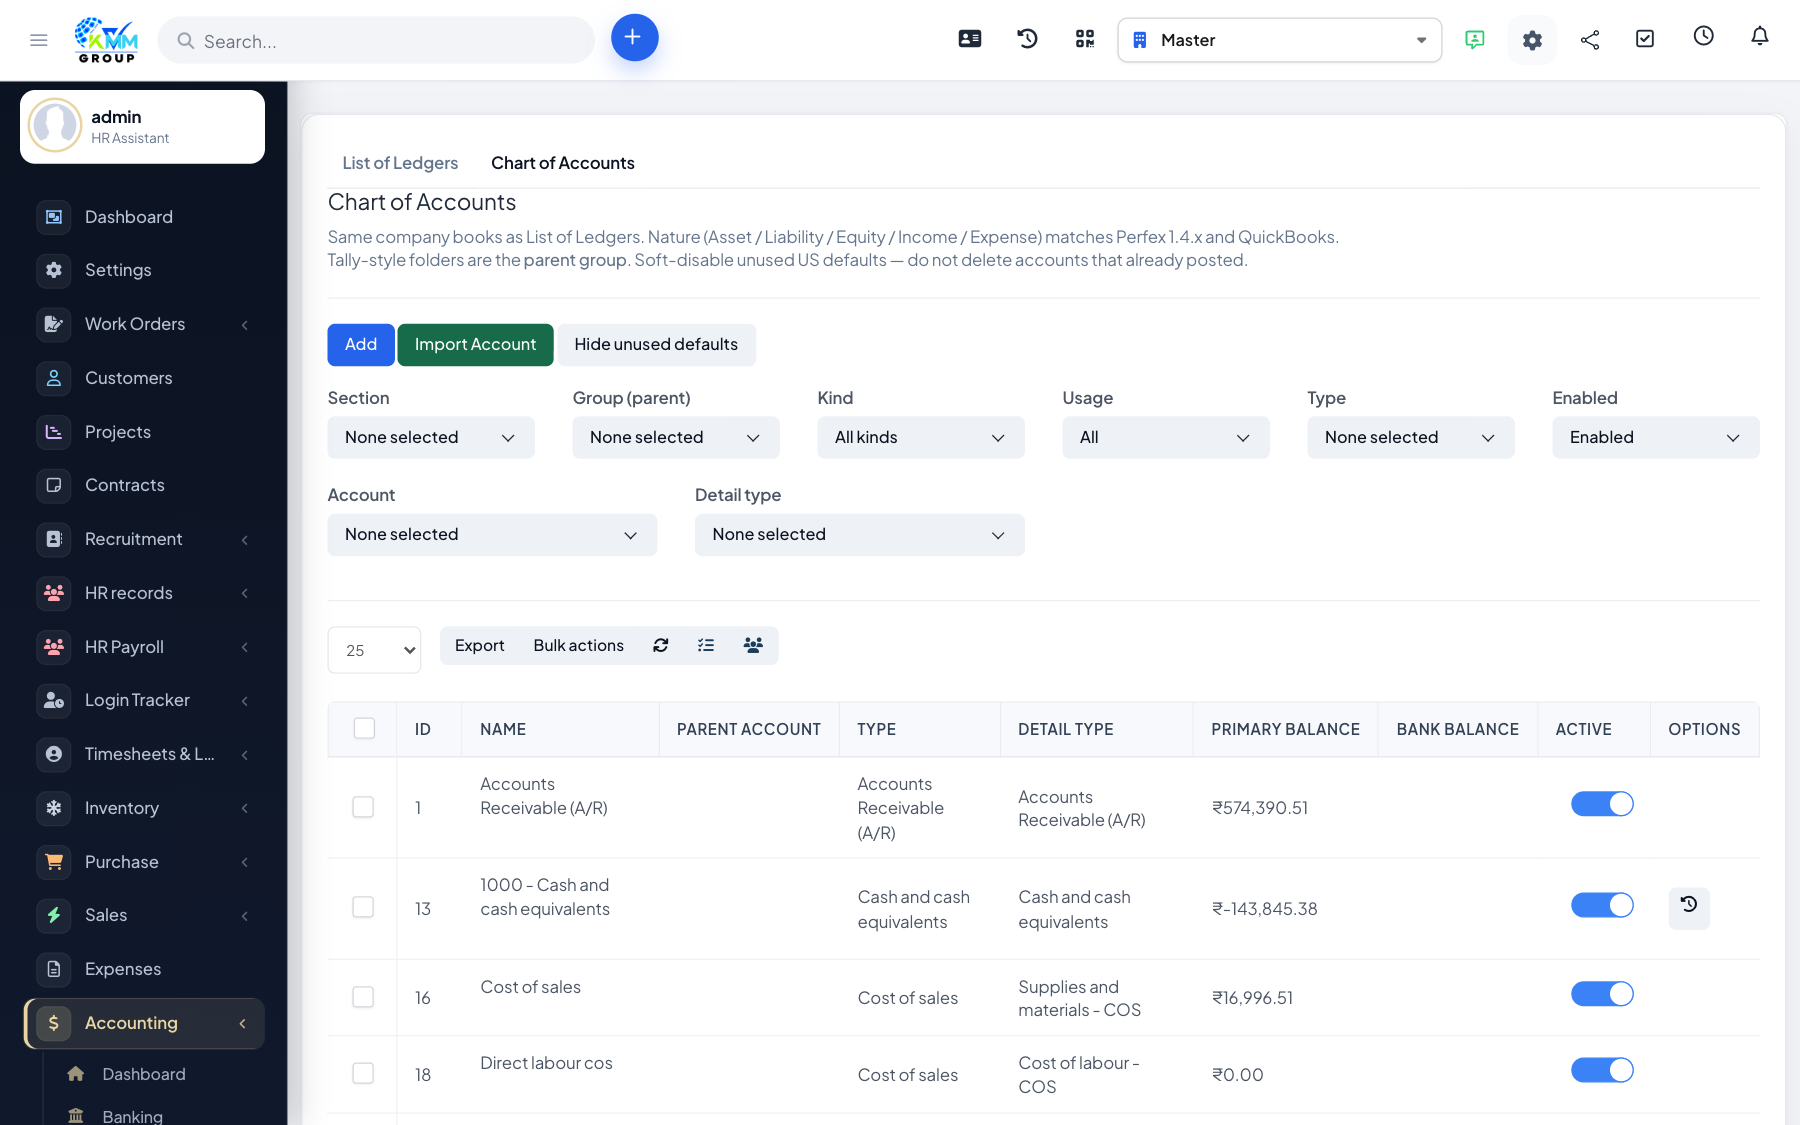
What is the Chart of Accounts
The Chart of Accounts is the master list of every ledger in your books, grouped into Assets, Liabilities, Equity, Income, Cost of Sales and Expenses.
Step-by-step: add a new account
- Go to Accounting > Chart of Accounts (
https://dashboard.kmmvgroup.org/admin/accounting/chart_of_accounts). - Click New Account.
- Select the Account Type (for example Bank, Current Assets, Expenses).
- Select the Detail Type that best matches the ledger (for example "Savings" under Bank).
- Enter the Account Name and, if enabled, the Account Number.
- Optionally enter an opening balance and the as-of date.
- Add a description so staff know what the account is for.
- Click Save.
Step-by-step: import accounts from Excel
- On the Chart of Accounts page click Import.
- Download the sample template.
- Fill in name, number, account type and detail type columns.
- Upload the file and click Import.
Managing accounts
- Use the row actions to edit, deactivate or delete an account.
- You cannot delete an account that already has transactions; deactivate it instead.